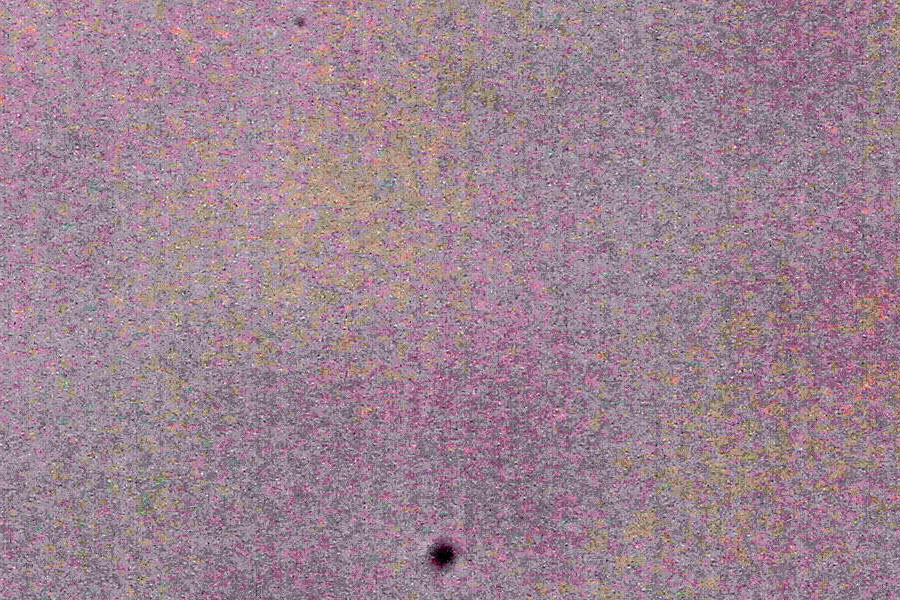
Click on the Image you'd like to see, what View, and what F-Stop. I used "auto tone" in Photoshop to (grossly) exaggerate what the dust bunnies look like on the sensor ... but then you can go back to the original image and see where to look. Javascript is used to "flip" to the selected image. Give it a second the first time as the browser caches the image - after that, you can go back-n-forth to quickly see the dust change with F-Stop. Conclusions below.
Choose Image:
White LCD Screen
as shot or
enhanced via PS auto-tone
Choose View:
original resized (can't see much) ... or actual pixels cropped showing
dust bunny!
Choose F-Stop:
5.6 -
8.0 -
10 -
16 -
22 -
32

Conclusion: Dust on the camera sensor looks
scary, especially in the enhanced images.
It would have been nice if the brand new Canon 7D had shipped with
no dust ... but looks like there are a couple of 'em there - there's
another similar "large" one at another spot. However, if you flip to
the as-shot images, they are barely visible, even at extremely small
apertures. So for most real-life shooting, they aren't significant,
so I'm not going
to worry about it for now ... and HECK, over time, they might just go away!
BTW, one thing that is quite noticeable is how much vigenetting the 55-250 lens has, even at F/8.0 and especially wide-open at F/5.6. This is a very light/small $250 lens, so you get what you pay for, and while it's a great bargain, keep this in mind when shooting with it.
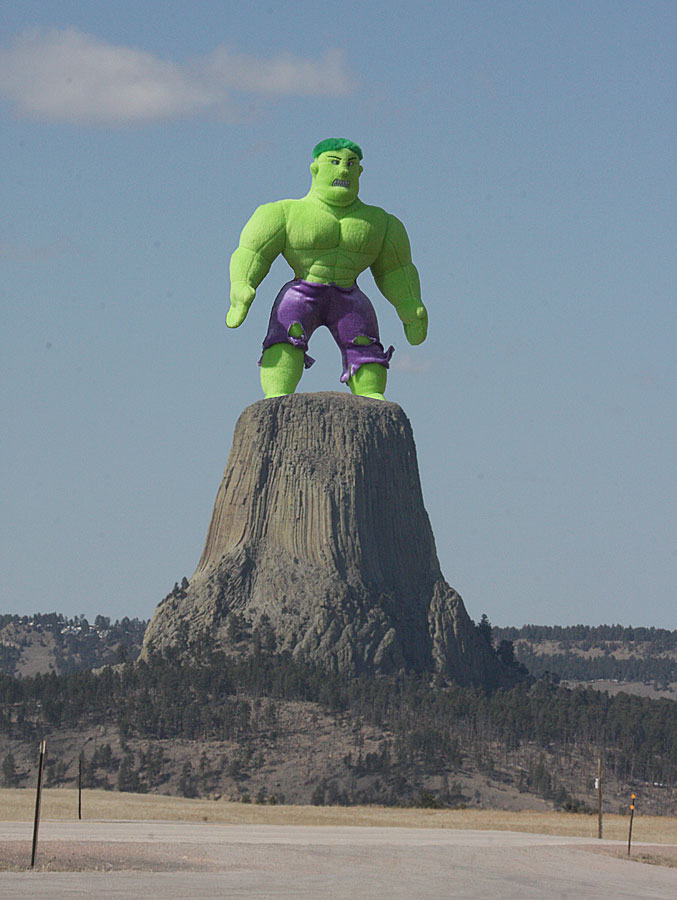
Hulk'in picture of Devil's Tower - note sensor dust at middle left

Back to more camera stuff.